Congratulations on narrowing down the type of planner you want to use! It is pretty cool how many ways something as simple as a planner can change your life. But unfortunately, what stops many people from using one is intimidation, not knowing how to set it up, and feeling like they won’t be consistent with it.
Have no fear! This simple post will help you through the basics, including the benefits of using one, picking the right planner, and setting it up.
Why Everyone Should Use a Planner
You might know about planning but still need to discover the many benefits. Take a look at why everyone – including you – should start using a planner.
Boosts Time Management
Do you find that there is never enough time in the day? It is probably because you need to manage your time more effectively. This happens when you constantly rush, going from one obligation to the next, without thinking about the entire day as a whole.
Using a planner allows you to have an overview of your day and schedule appointments accordingly. Set specific due dates and deadlines to help you stay on track and have extra time left for yourself and your family.
Improve Your Productivity
Planning is essential for your personal and professional life. While many people think of productivity as it relates to their job or business, you also want to be productive at home. I’m not saying don’t relax; I am not crazy! However, having a plan or schedule around house chores can help you immensely. This might include cleaning and home organization or working on projects you keep putting off. Regardless of what it is, planners help you stay on track (remember the last time you cleaned your fridge or wiped down the baseboards?) with each task you need to complete and encourage you to move on to the next one effectively and efficiently.
Relieve Stress
Stress has many forms, but they all have in common: it comes from being overwhelmed. You are often stressed due to a hectic schedule, having too many demands, or putting too much on your plate. Of course, outside influences do also affect your stress level but think of how different it could be when you actually have time for everything and can seamlessly go from one responsibility to the next without having to worry about missing something, being late, or having to back out at the last minute.
Time To Be Creative
Another benefit of using a planner is that sticking to a schedule for all the mandatory responsibilities can leave free time for your creative endeavors, whether working on a hobby or trying something new.
Tips for Choosing the Right Planner
Using a planner provides an excellent way to organize your life, relieve stress, and complete goals. The first step is to choose the type of planner that will work best for you. Here, you can check out my other blog post on planner layouts and pictures. Below are a few ideas to start with.
Consider the Size
This is one of the most critical factors because you need to consider where you will use the planner and what printable pages to include.
There are small, medium, and large sizes to choose from. The larger ones are great for a desktop or work tote. Otherwise, one of the smaller ones is ideal for keeping in your purse, car, or having on the go.
What is it Being Used for?
Undecided on what planner you want? First, what is its purpose? This might be for your daily life and schedules, work and projects, home life, personal or a combination of these. This determines everything from the size to the type of pages included in your planner. It will also help you determine if a store-bought planner works or if you will get a binder and use printable planner pages.
Look at the Layouts
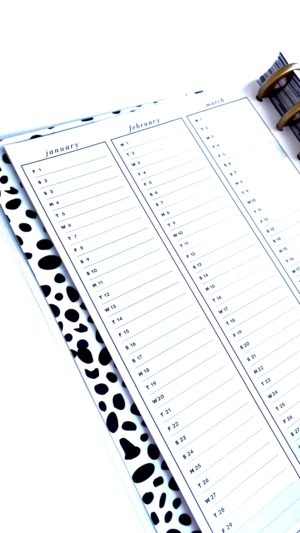
Some planners are dashboard, vertical or hourly! You must figure out which layout will work best for your needs. If the planner is for work, an hourly planner might be best. Using a planner for journaling or tracking, you might prefer a horizontal layout because it offers more writing space.
Paper
If you enjoy decorating your planner with markers, colored pencils, or watercolors, you may want to look for a planner with thick, premium quality paper to prevent bleed thru.
Think About Room for Extras
Choosing a binder-style planner with extra room to add additional pages is always good. Many people offer some amazing printables so that you can customize any planner to your own needs. All you need is a printer, paper, and a 3-hole punch.
Let’s Set Up Your Planner
After deciding on your planner, it’s time to set it up. Here is a quick guide to doing this efficiently while keeping it a simplified process. Of course, this may be optional if you find a planner that fits your needs completely, so this step can be skipped.
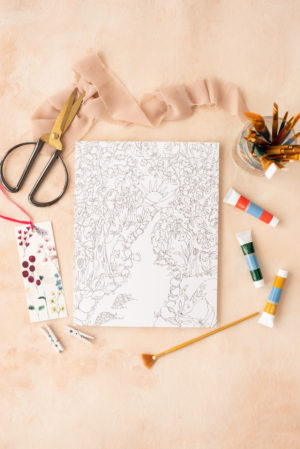
Gather Your Tools and Supplies

The first step to setting up your planner is to gather everything you need. Aside from your planner and any printable pages you add, you will need something to write with.
If you are color coding, using some colored pens or highlighters is a great tool to have, but this isn’t
necessary. Some other tools you may need include:
- Ruler (for custom pages)
- 3-Hole Punch (for printed pages)
- Stickers or embellishments
- Highlighters (for color coding)
There may be some other accessories you need or want, but these are the basics to grab for now. When you start working on different pages, you will decide if more needs to be used.
Don’t Skip On Using the Monthly Calendar
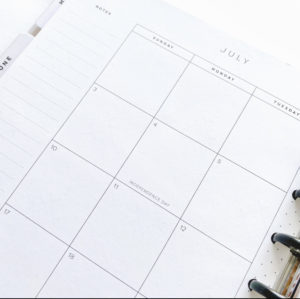
Now that you are ready to write in the planner and start setting it up, always start with the monthly calendar for the current month. It is good to start with birthdays and anniversaries since those are pretty straightforward. Then, you can add other events or appointments you already know about.
You may add to the monthly page later, but the essentials are all you need for now. Fill out as many monthly calendars as you want, or you can stick to this month to keep it simple.
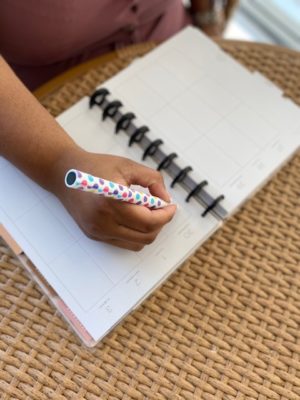
Add More Details to Your Weekly Schedule
Now it is time to set up the weekly section of the planner. First, use your monthly calendar to plan what needs to be done each week and on which day. The weekly pages usually have larger sections for each day of the week, so you have enough room to write down details like to-do lists for completing specific tasks or things you need before an appointment or event.
By now, you have completed the central part of the planner. However, you can decide to stop there or continue with other details. For example, do some color-coding, or add additional pages for other productivity requirements you have.
The most important thing is that you now have more than enough to incorporate planning into your life. Have any other tips? List them below!